
Loose power window motor fix.
Tools and hardware needed:
Philips screwdriver.
Plastic and heavy steel putty knife.
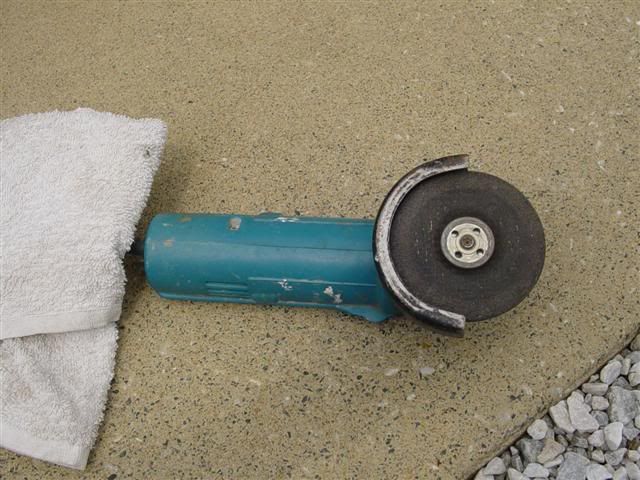
Hand held grinder or dremel.
9/32 nut driver or socket
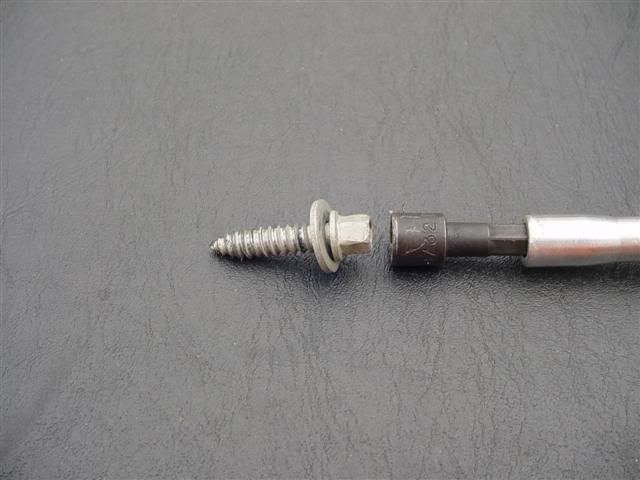
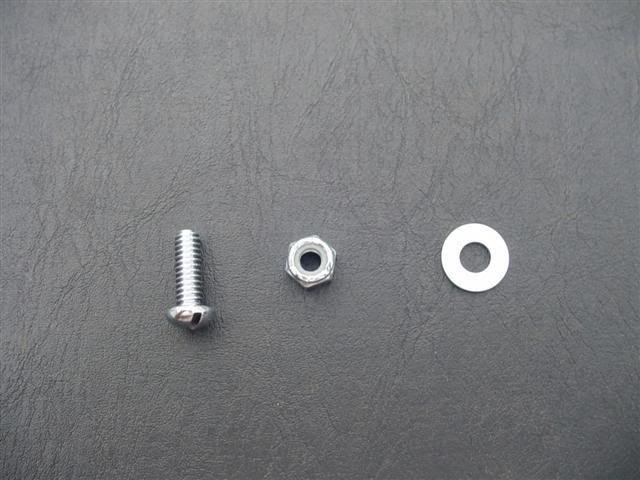
Four 1/4" bolts or machine screws with locking nuts and washers.
Tape (Optional)
First remove the switch control panel by pulling up on the front of the panel then forward to free the back.
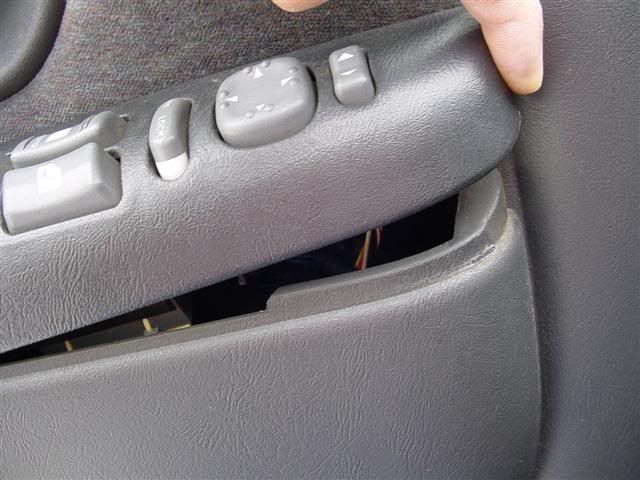
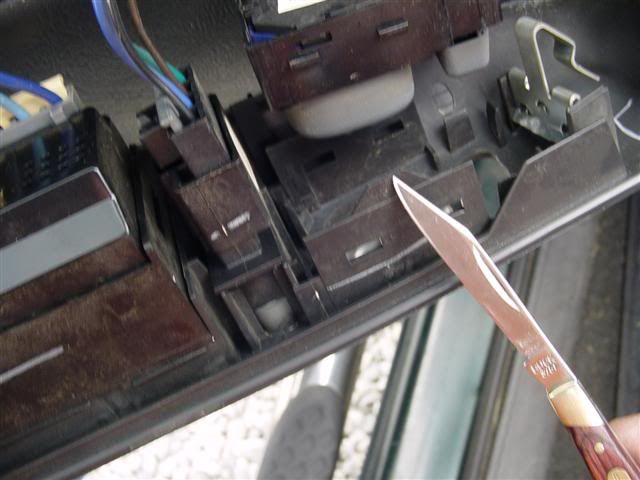
Remove the mirrow adjustment switch and the power window lock switch by unlocking the tabs on each side of the switch.
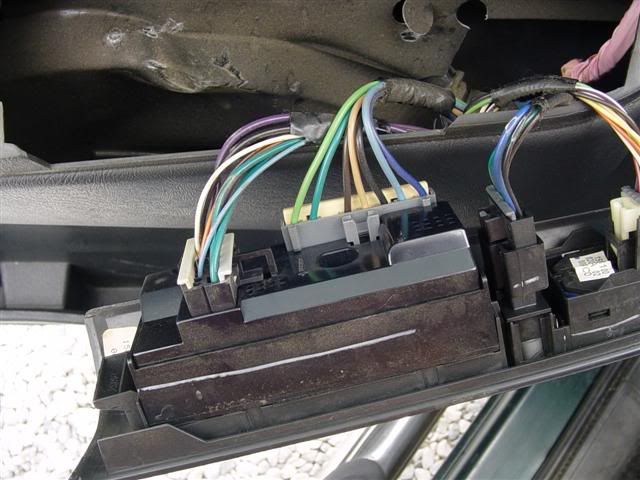
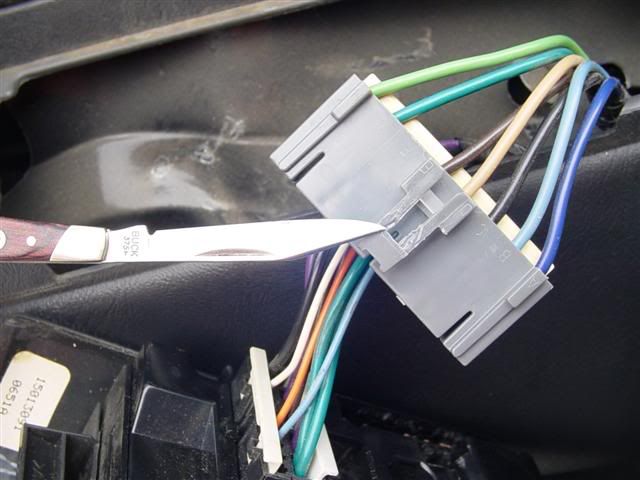
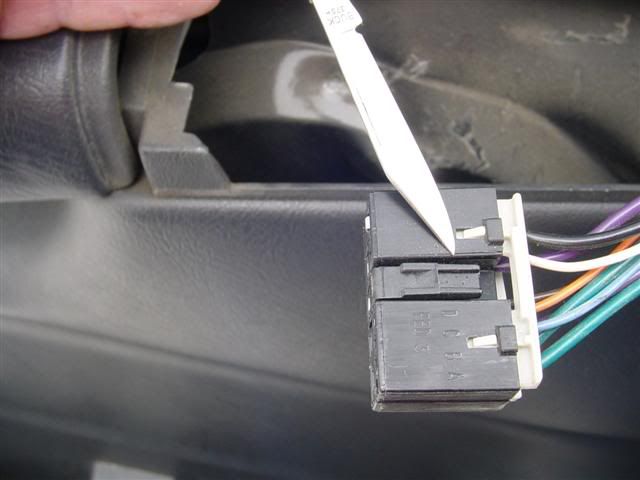
Disconnect the wire harness from the window door lock switch and power window switch by compressing the locking tabs of each switch and carefully pulling on the female end. Do not pull on the wires to avoid damage to the harness.
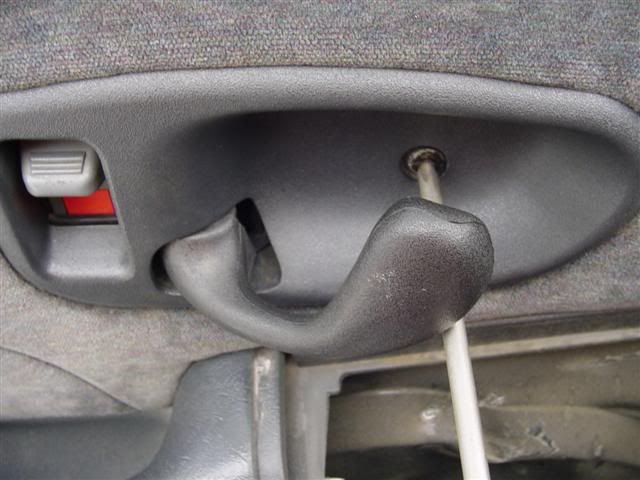
Remove the door handle cup by removing the screw behind the handle and pulling the cup towards the front of the door.
Remove the two screws under the arm rest using a 9/32 nut driver or socket.
Remove the one exterior panel retainer at the front of the door using a plastic putty knife so not the scratch the door panel.

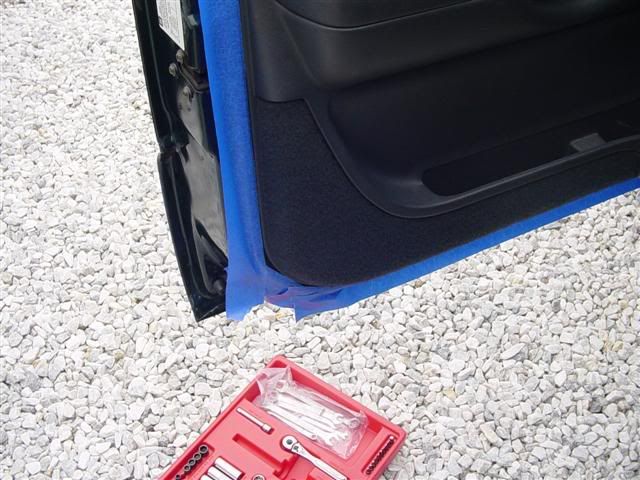
Tape around the door panel to prevent scratches to the painted surfaces.
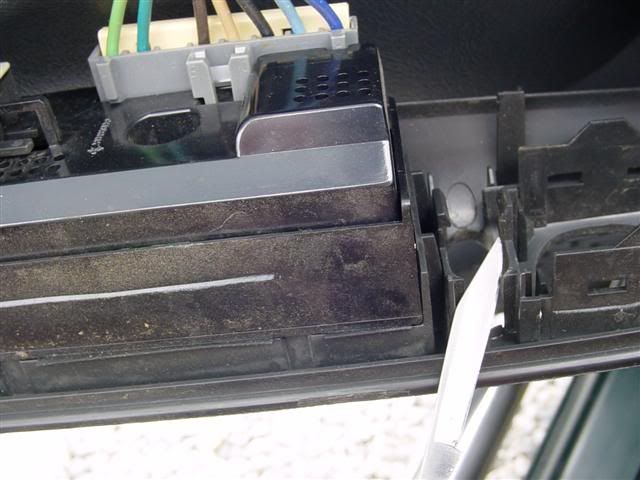
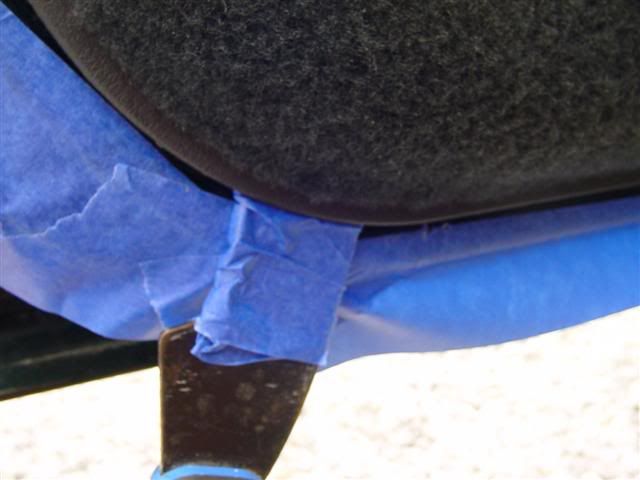
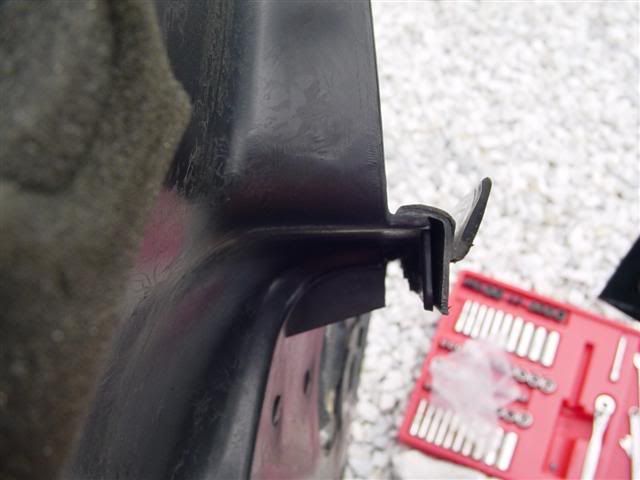
Pry the panel off starting at the lower rear corner using a heavy steel painter knife or similar tool. Work your way across the bottom of the panel then up the front side of the door to the top. It is safer to pry rite at the push clip locations to avid damage to the panel. The lower photo shows the locations. If you would break a clip they can be purchased at most auto part stores.

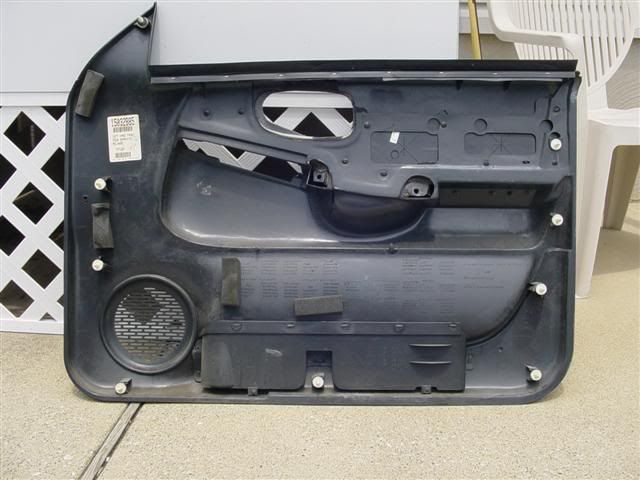
When all the clips have been pulled free the door panel can be removed by lifting the panel straight up so the upper lip of the panel will slide out from behind the inner door at the window weather stripping. The locking lip of the door panel can be seen in photo of the back side of the panel above.
Next remove the paper type door liner by carefully pulling it away. It is adhered with a black sealer that will allow you to put it back in place very easily. Start at the rear of the door and pull only enough to reveal the drive motor for the power window. You do not have to total remove the liner.
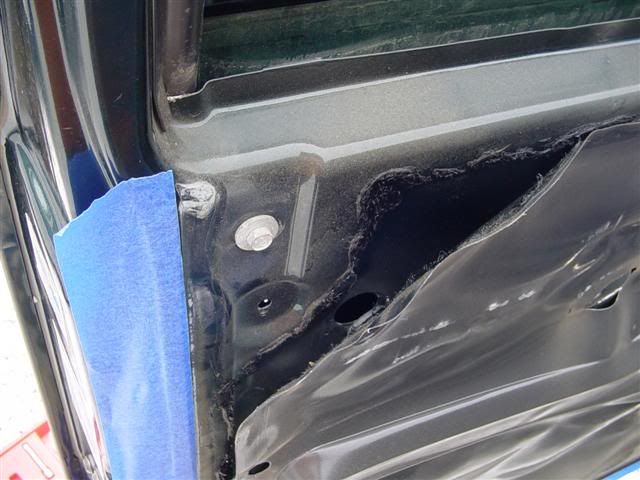
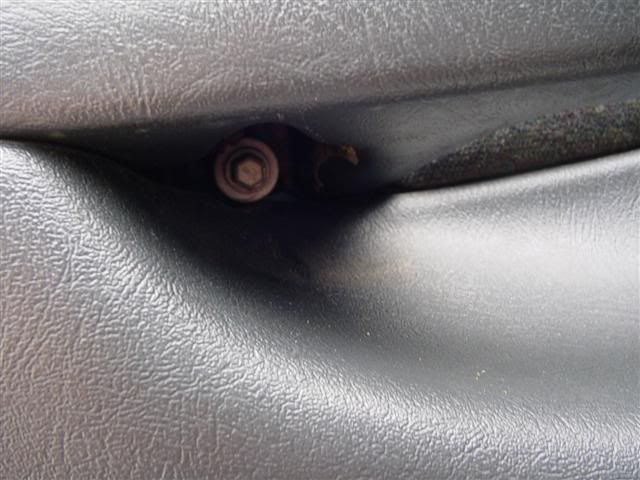
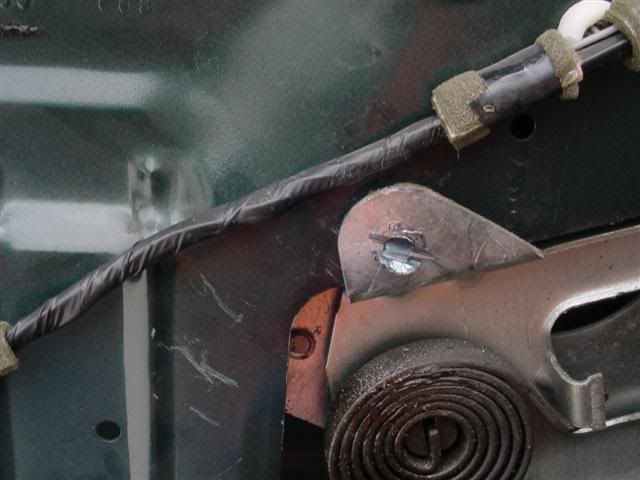
The drive motor will be in the center of the door and is mounted with four large rivets which are the cause of the problem. These rivets loosen or pull through the door panel causing the motor to flop around each time your operate the window. The solution is to remove these rivits and replace them with bolts.
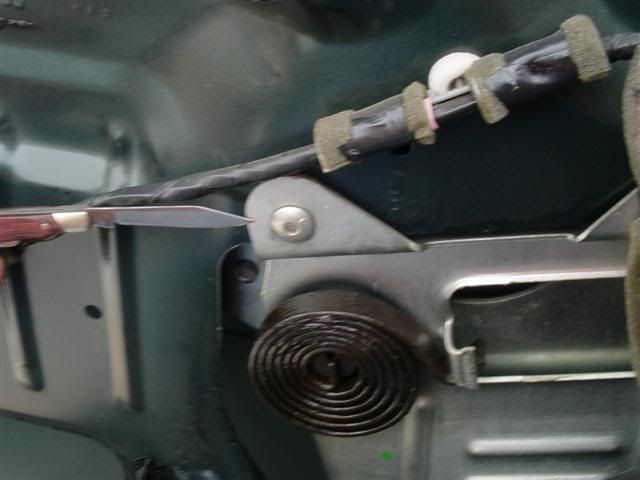
To remove the rivets use a small grinder or dremel to grind off the heads then punch then through. Be certain to retrieve the fallen rivit from inside the door to prevent a rattle from the door later.
Once the rivet has been removed replace it with a 3/4 inch long 1/4 inch bolt. I used a stove bolt and locking nuts.
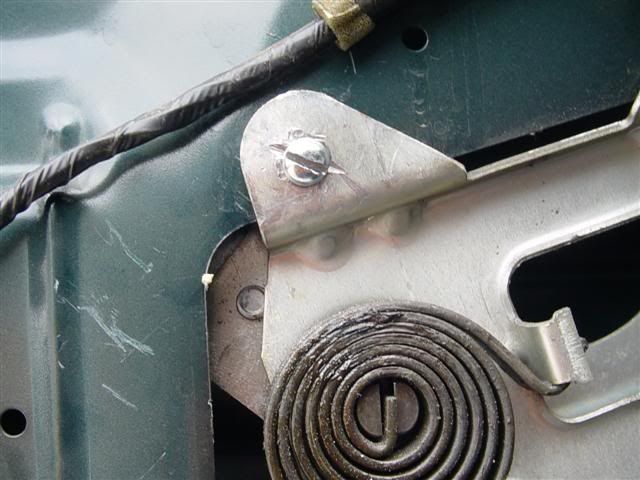
Once the rivies have been replaced reassemble the door by reversing the above process. The total time of the repair should be about an hour.