This is what mine looked like prior to this mod:
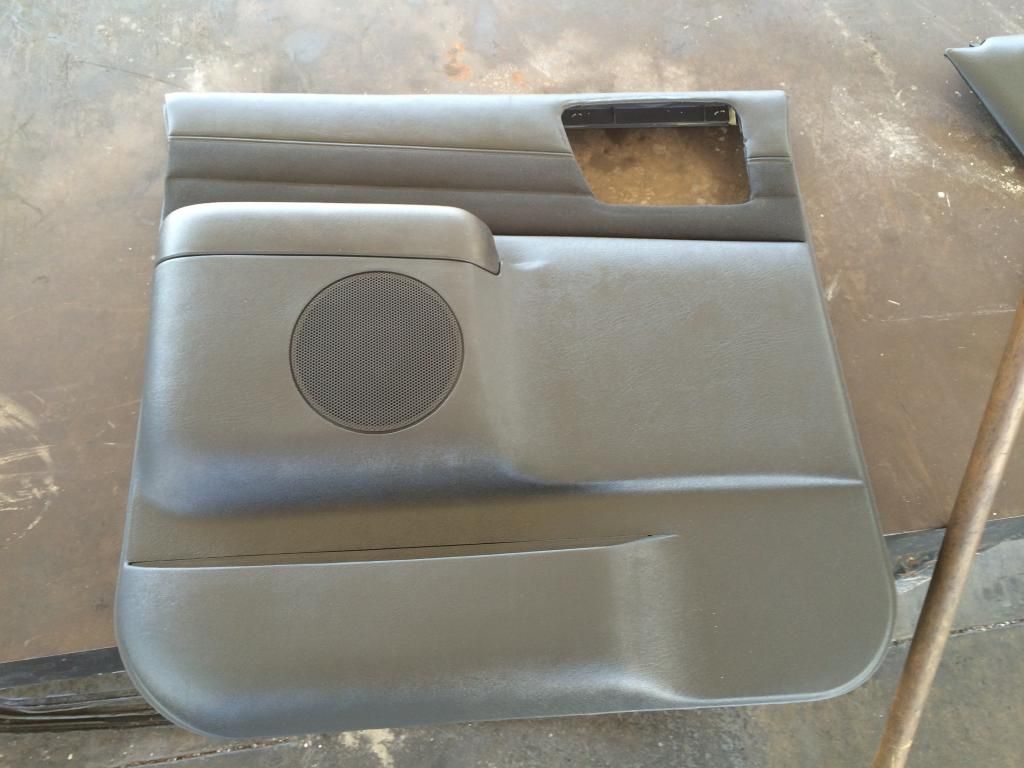
Pretty blah looking compared to the rest of the interior.
CrewCabs never came with leather door panels. I've seen plenty of "custom" jobs done when it comes to door panel inserts - some look good and some...well...look good to the owner - I'm not one to judge. Myself - I'm a fan of the stock appearance - meaning - it looks like it came that way from the factory.
The rear doors on all CrewCabs have the 95-97 style inside door handle on them (which is strange because the crews were made 2001 and newer...) Fortunately there were plenty of S Series SUV's that had leather door panel options in that year range - Namely the 95-97 Bravada. I snatched a set of Graphite panels a while back, sold the fronts and kept the rears thinking it may be possible to do a swap of the door panel inserts. After digging through the forums, I hadn't come up with anything so I figured I'd just try it and see how it turned out - Result: Wish I would have done this sooner!!
For those of you that own a crew and want to upgrade your rear panels - here's the How-To:
1. First, stamp out the donor inserts. I used a 3/4" - 1" copper tee pipe (about $1.50 at Home Depot) and heated it up with a propane torch. Once heated, press the 3/4" side over the melted on "buttons" of the donor panel. The insert will separate from the panel after all buttons have been stamped out. This way works well because you're left with plenty of "button" to work with when mounting it to the new panel.
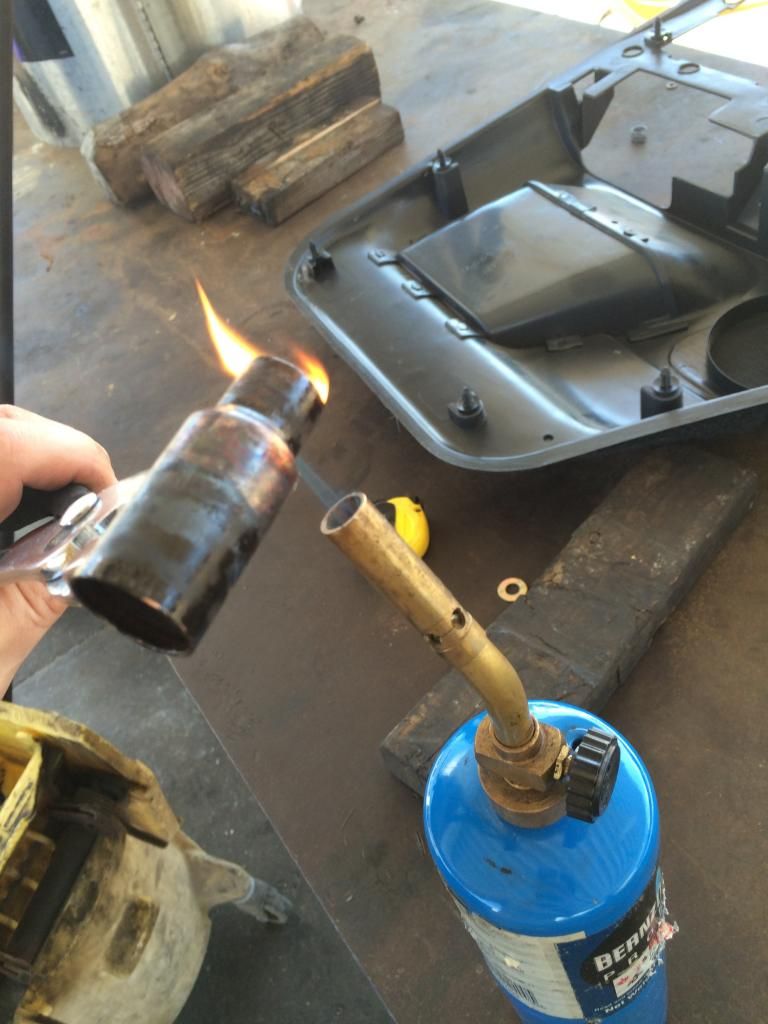
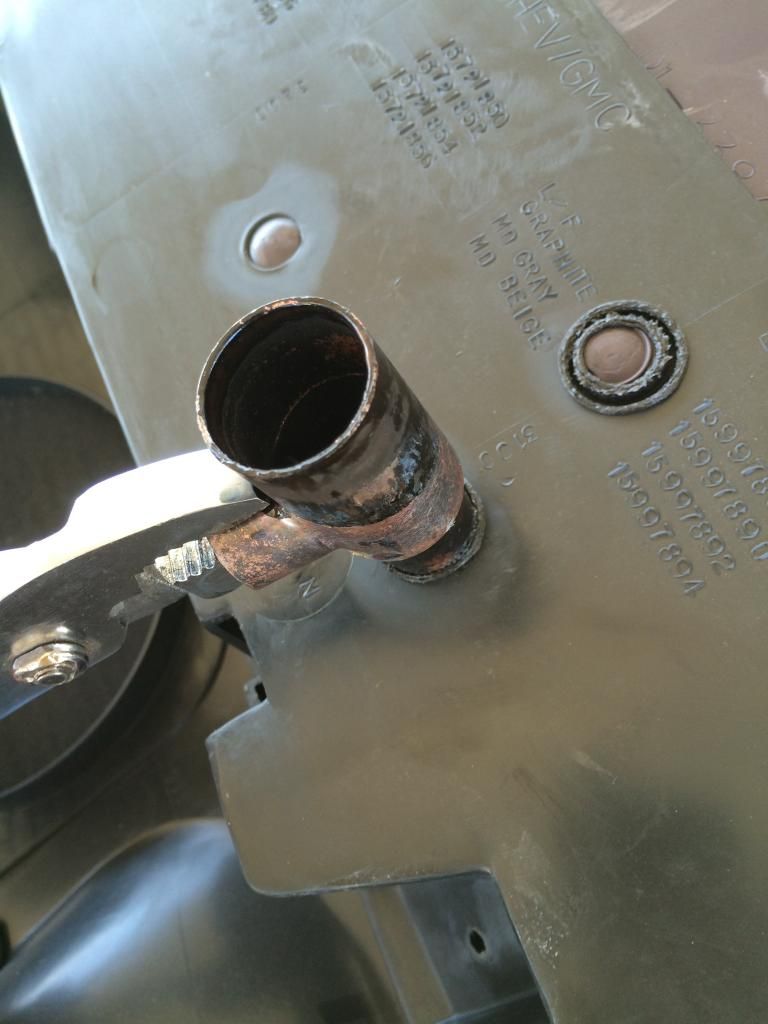
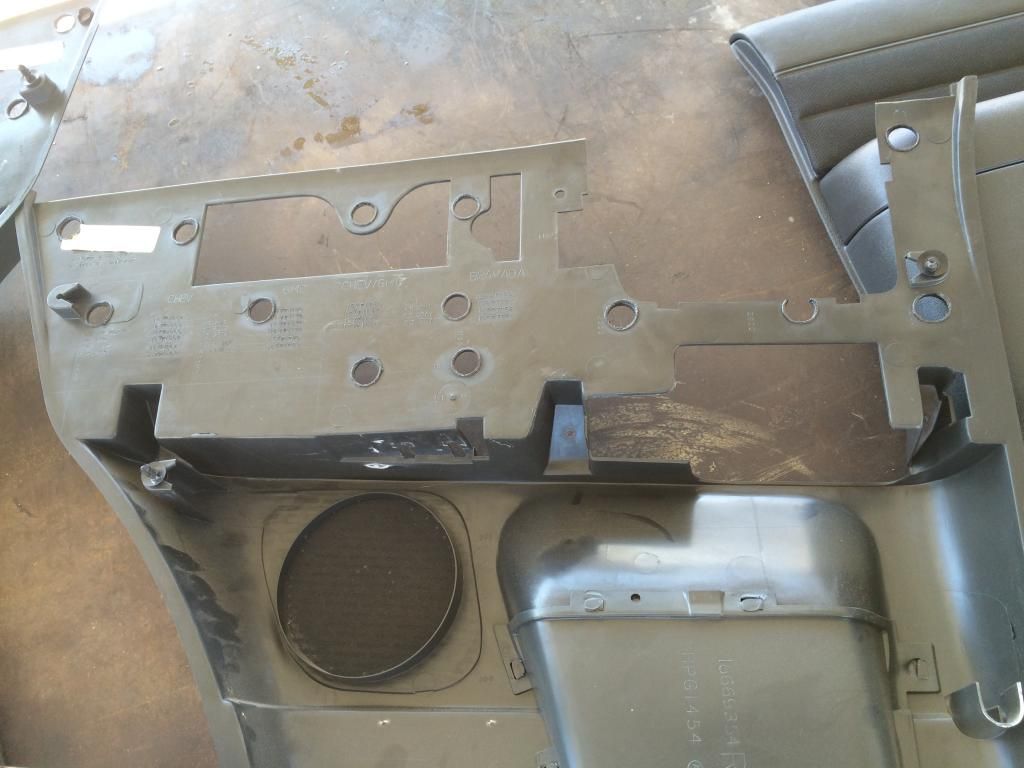
2. Stamp out your stock insert using the 1" pipe end - this give you a little wiggle room to adjust the insert to the panel backing when applying the adhesive. Yes - this part had me a bit worried because CrewCab panels are hard to come by, but since I was using the stamping method, I could simply put the stock insert back in if things didn't go as planned.
3. Measure, measure again, and have a steady hand. The Bravada insert (like any other Blazer or Jimmy insert) is shares a similar template to the CrewCab insert. The only differences are the rear is extended further, the lower center has a dip in it, and 3 of the mounting "buttons" on the back of the insert are in different locations compared to the CrewCab insert.
To get the Bravada insert to fit the CrewCab door panel, I had to trim it down.
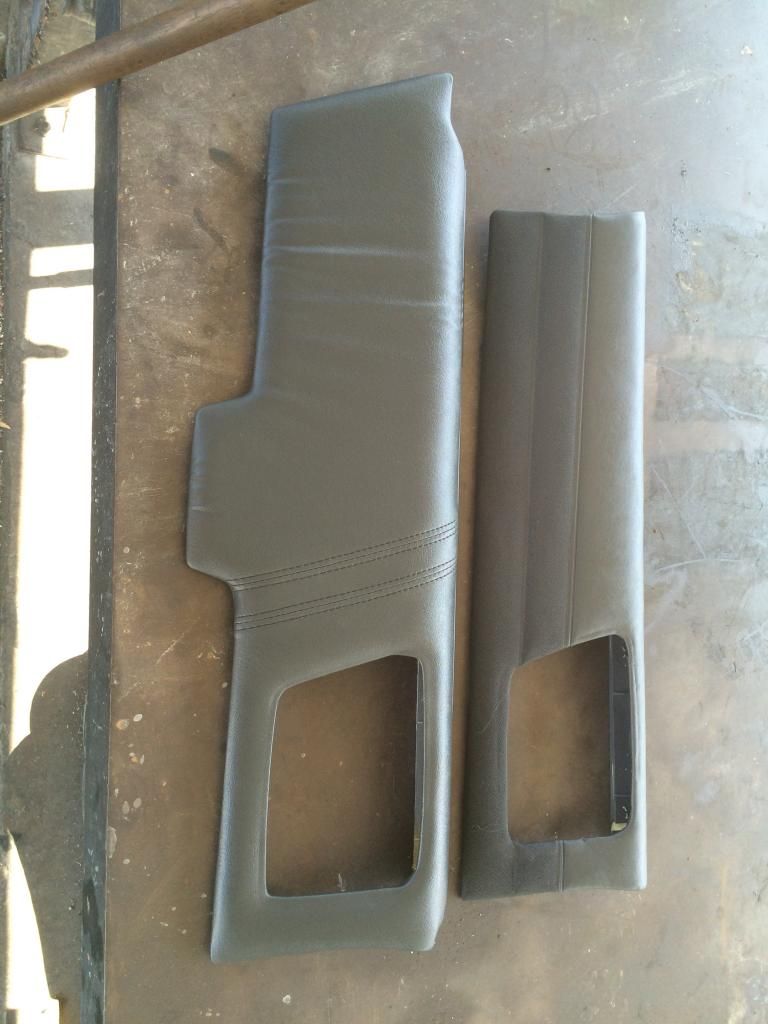
4. Remove the center Dip by cutting the plastic tab flush with the rest of the insert straight edge. A simple box cutter will do the job.
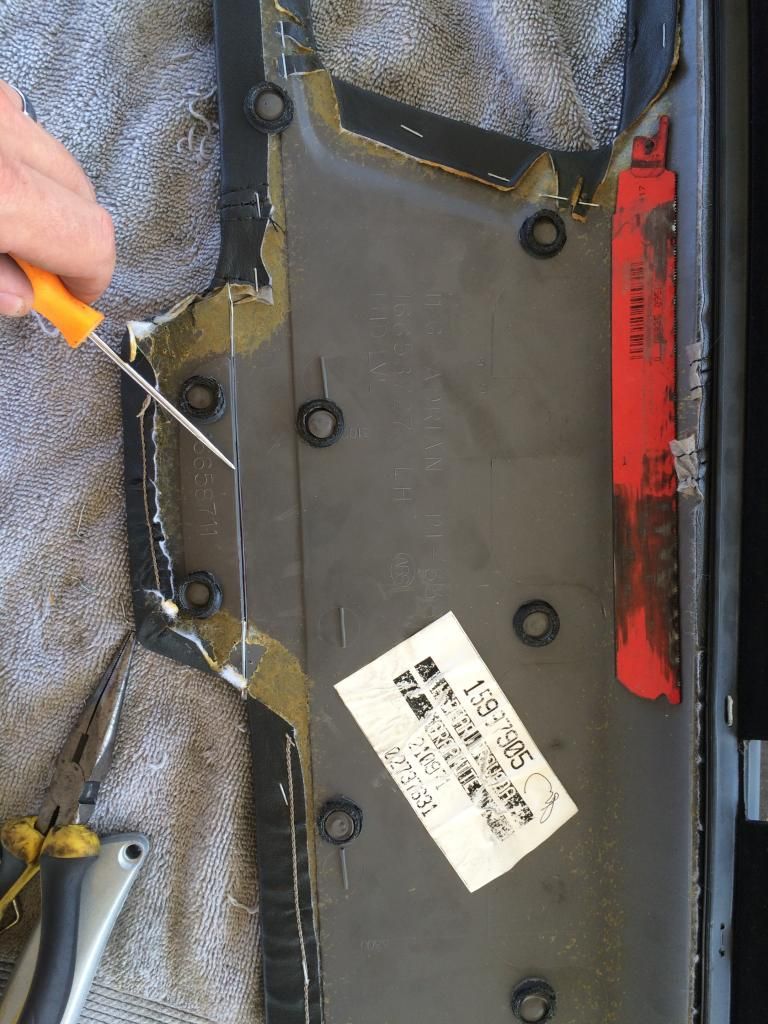
5. Next, separate the foam from the leather and cut the foam flush with the new straight edge - do not cut the leather!
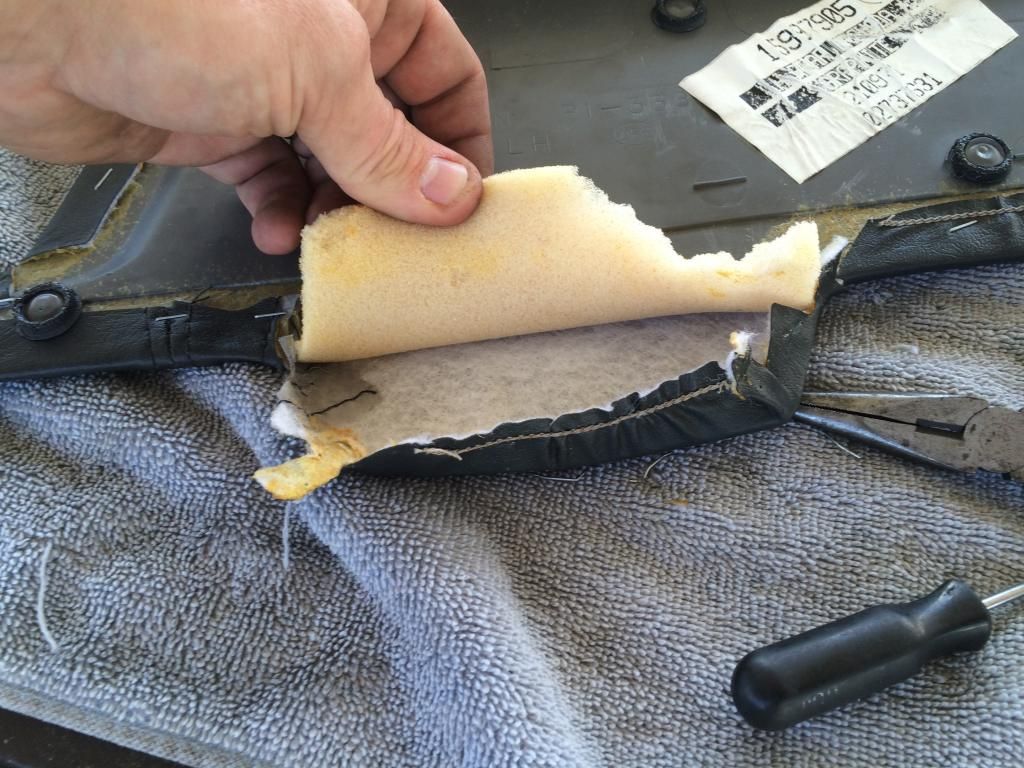
6. I used a dewalt multi tacker staple gun and trimmed some 8mm T50 heavy duty staples down to about 3-4 mm each. from there, I pulled the leather over the new straight edge and glued and stapled it to the insert and trimmed the excess. Here's the result:
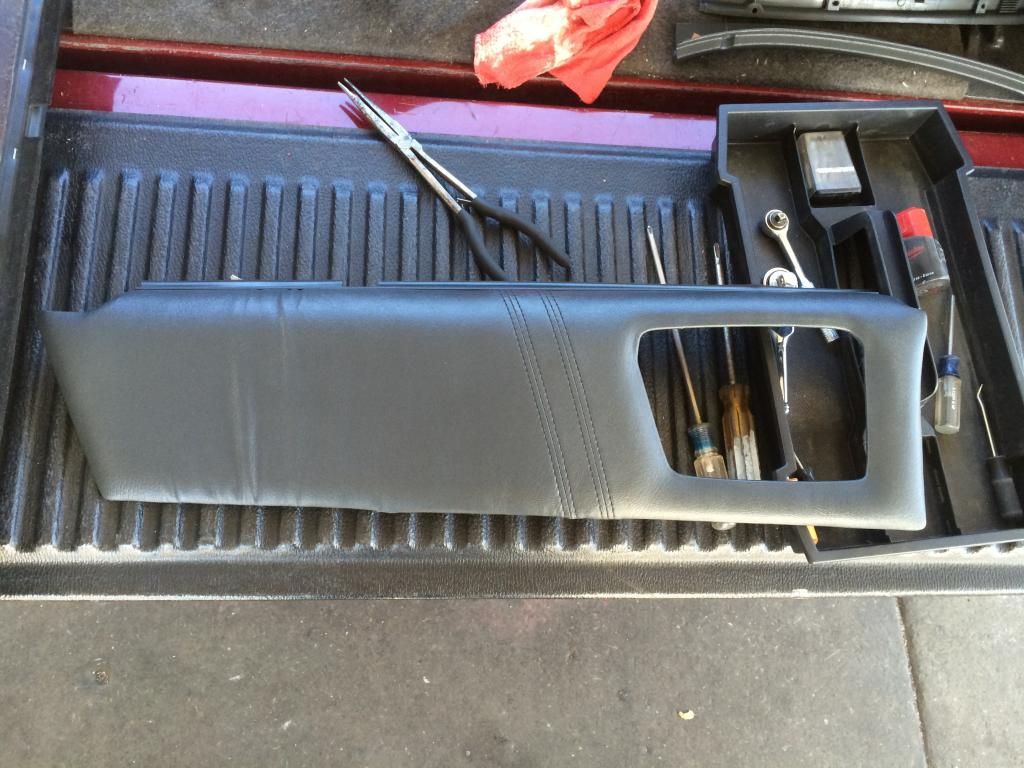
7. Next, I had to shorten the rear of the insert. I marked my cuts by placing the donor insert into the CrewCab Panel and marking along the rear edge inside the donor insert. Using the same process as before, I made my cuts, and wrapped the leather around the new rear edge.
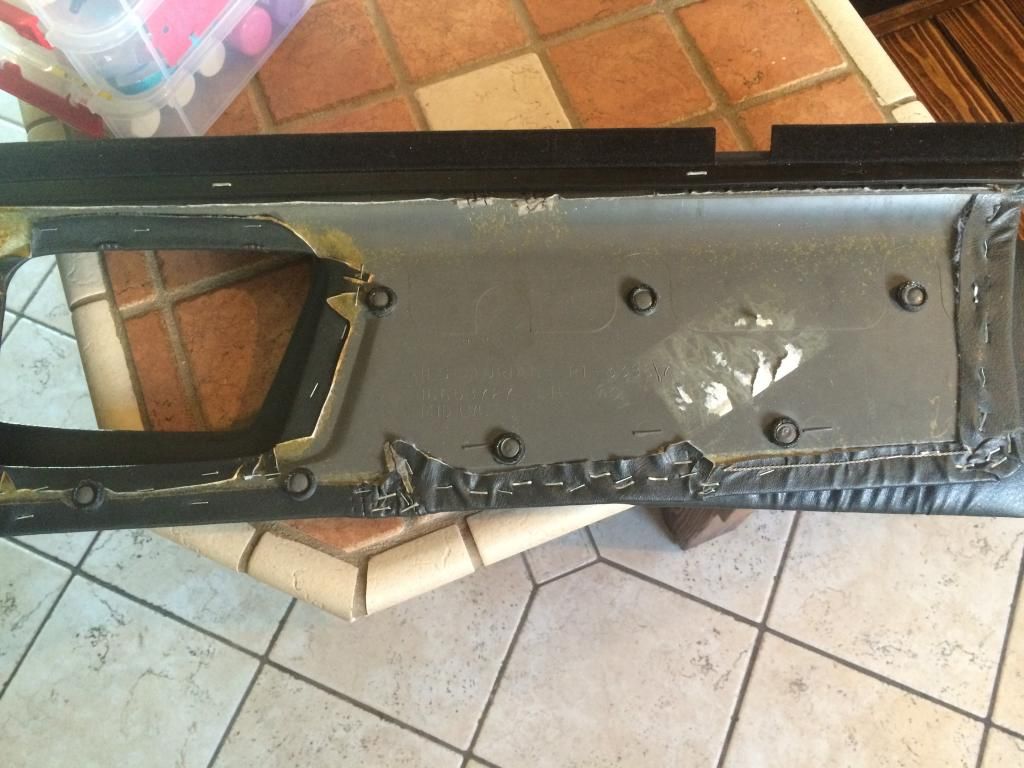
And Yes - the 95-97 Blazer/Jimmy/Bravada inserts have the exact same window seal 'middle notch' measurements as the crew (I just have to trim the rear part back about 1 3/8" from the back.)

Here is the side by side comparison.
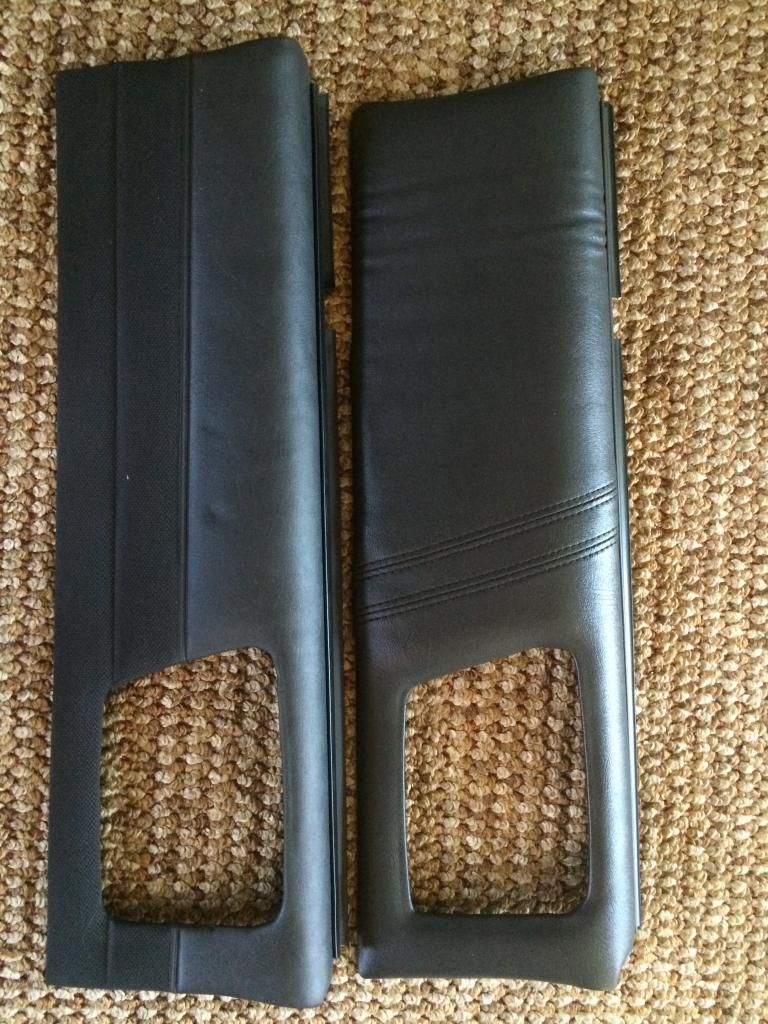
8. With the insert complete, I then prepped both the insert and the panel for adhesion. I had to make a couple new holes on the CrewCab door panel backing to accommodate the Bravada Insert "buttons". Next, I scuffed the mating surfaces and cleaned it with SEM 38353 Plastic and Leather Prep.
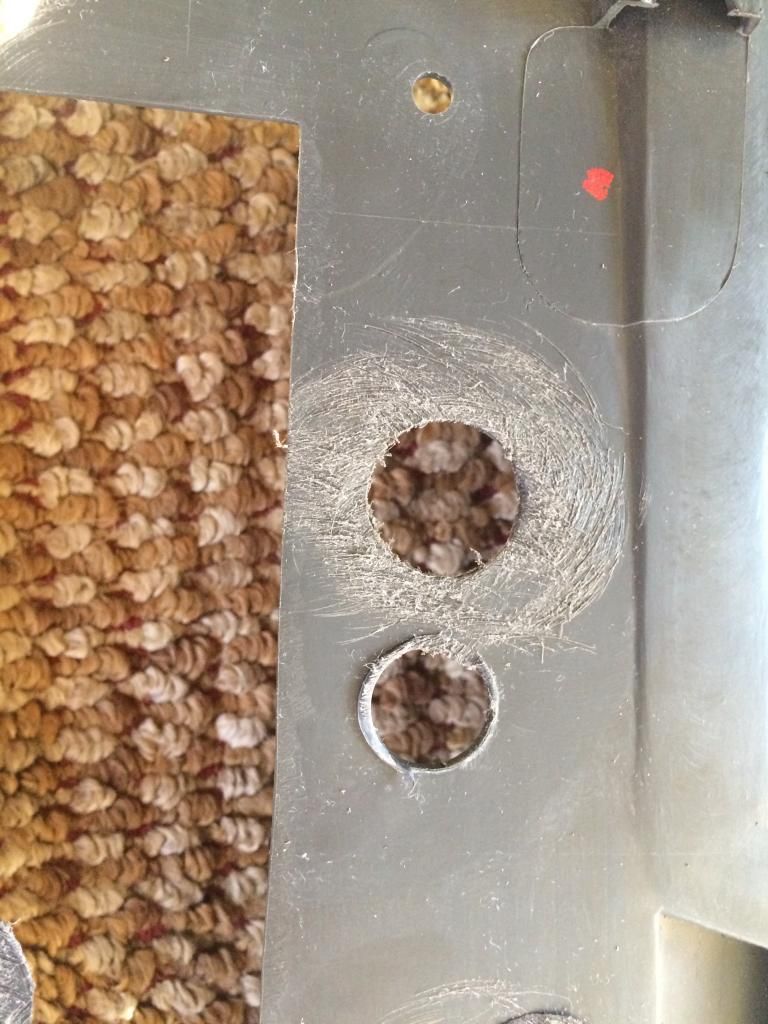
For the adhesive I used SEM 39847 Multi Plastic Repair Material which is a 2 part bonding mix with about a 5 minute work time - This stuff is awesome! After SEM adhesive set, here is the end result:
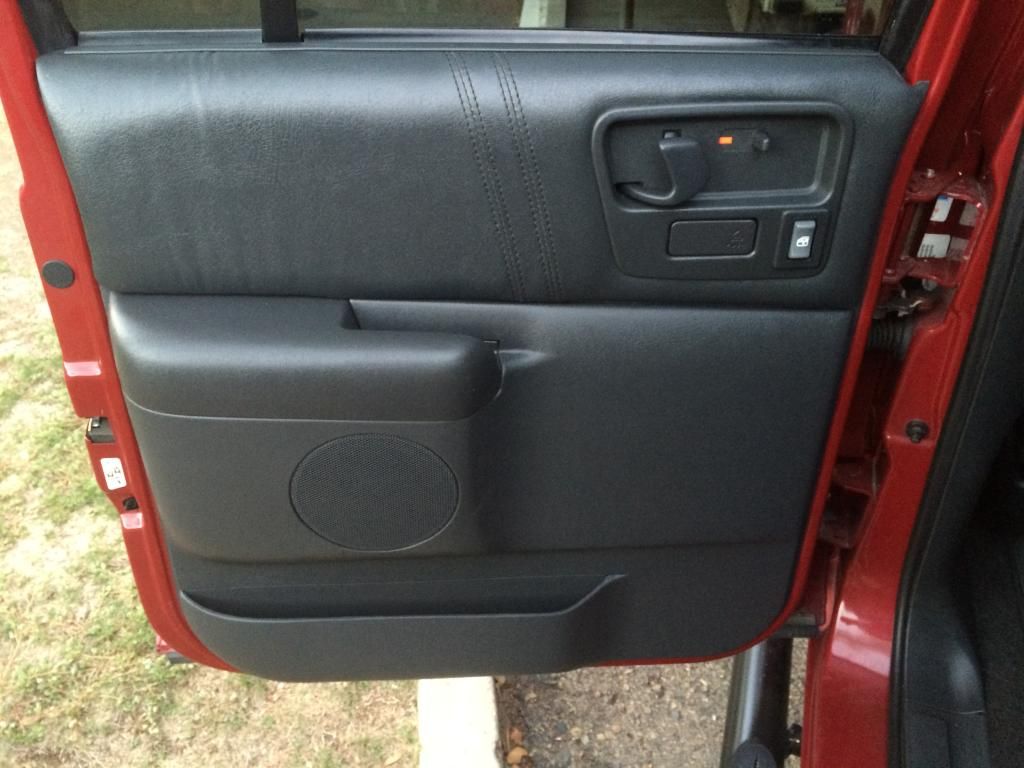
Subtle change? Yes. But to a CrewCab owner like me, it's a night and day difference. Looks Great!!
There is a tiny gap in the upper front portion of the panel:
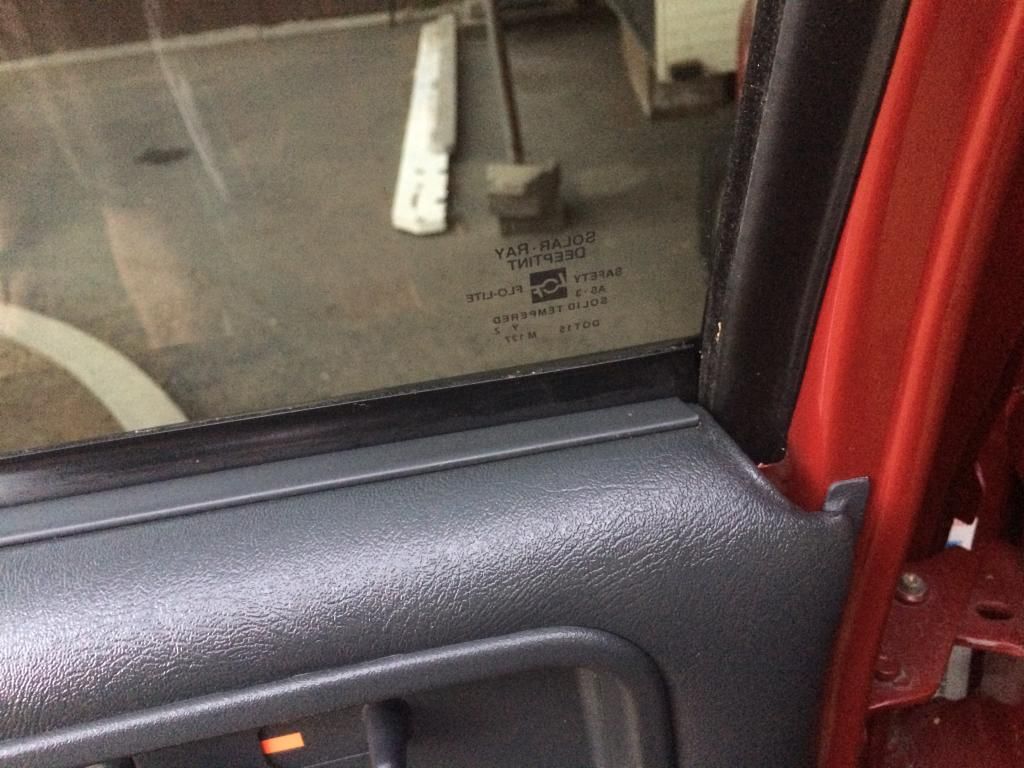
Doesn't really bother me. Plus I can cover it up with an upper door trim piece:
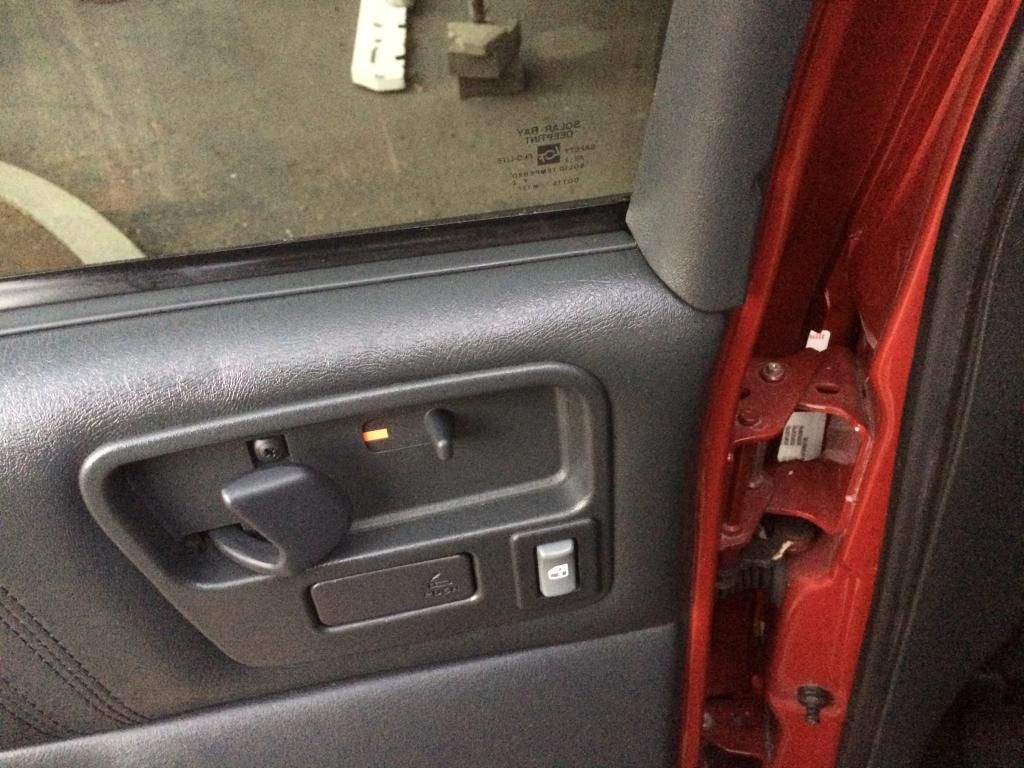
Now I just have to swap out the fronts and I'll be good to go.
.


